I want to thank you for your interest in the Crocheted Flowers I've been making and many of you expressed an interest in knowing how to make the actual crocheted flower part. I was actually just suggesting that I show you how to make the covered buttons in the flowers. I could do a video tutorial but, I have to admit that I'm a little bit afraid of making a fool of myself on video because I'm still so new at crocheting. I'd probably use the wrong crochet language and give you the wrong or confusing directions but, if you don't hold it against me I guess I could make an attempt at making a video tutorial on making the actual flower part. Let me know if you would still want me to make an attempt at it.
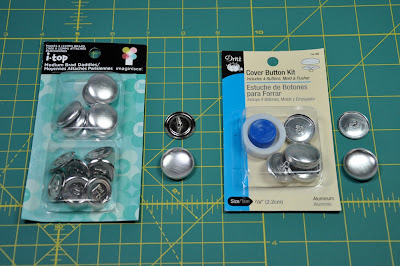
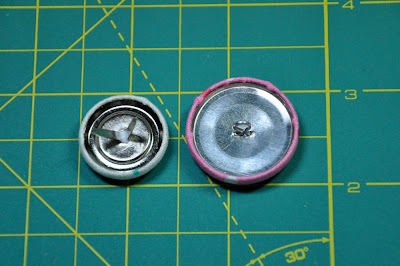
The Products:Well, here's my little secret... On the left you will see a newer product called
i-top by
imaginisce and on the left you will see the conventional
Covered Buttons by
Dritz.
Note: Here's a great online source for the covered buttons (with a button shank) go to
Covered Buttons.com That's where
Nanette and
Nedra have bought their covered buttons in bulk.
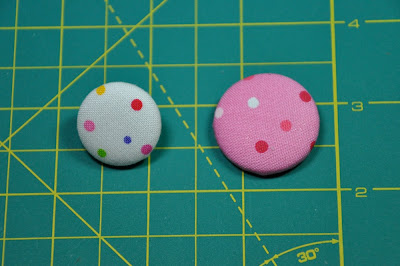
Another Note: The i-top buttons on the left are what they classify as their medium "Brad Daddies" and the traditional 7/8" Cover Button Kit by Dritz is the same size as the medium "Brad Daddies".
In this tutorial I will be using the i-top product (on the left) but not the tool (on the right).
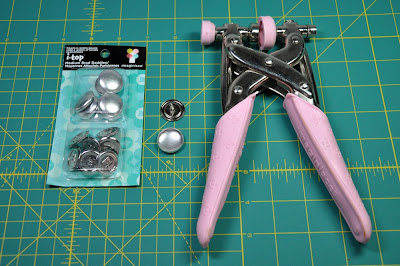
Before I get started I'm going to send you over to
Lori Holt's Blog for a wonderful tutorial on making covered buttons using the i-top covered buttons and tool. You will just love her most recent creation. She gives you a very detailed look at the i-top products and the tool for making the covered buttons with a brad.
Hurry...
Go check it out...
You can pop back over after you have a look see...
Trust me. You will
LOVE it...
Especially if you
LOVE covered buttons like we do.
Step One:
Making the Covered Buttons
1. Here I'm going to use the pattern and the tool from the Dritz Button Cover Kit.
2. I cut out the pattern and traced it onto some clear vinyl.
3. Then I took the top part of the button and traced around it to create a viewing area for previewing your fabric placement.
4. Cut out your fabric.
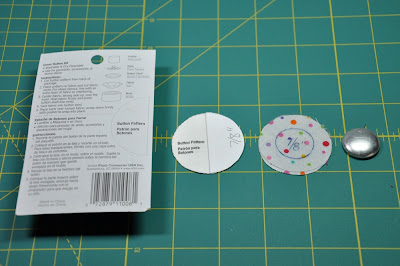
5. Take out the button tool.
6. Place fabric over the white cup.
7. Take the metal disc and place it over the fabric.
8. Press the metal disc into the cup. This will gather up the fabric and make it nice and snug.
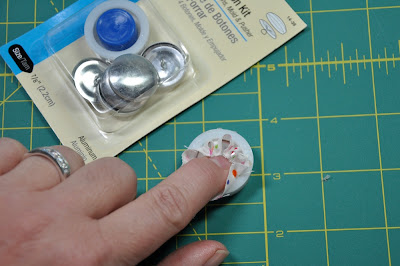
9. This next step is certainly optional but I tend to make things secure. If that makes any sense.
10. I place a small amount of tacky glue around the metal where the fabric will touch. This makes the fabric more snug and nicely gathered around the metal disc.
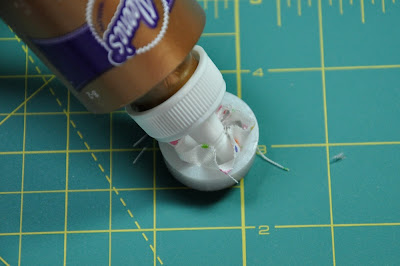
11. As you can see the fabric is nicely gathered and ready to go.
12. Just add a small dot of glue before putting on the button back. Again this is optional.
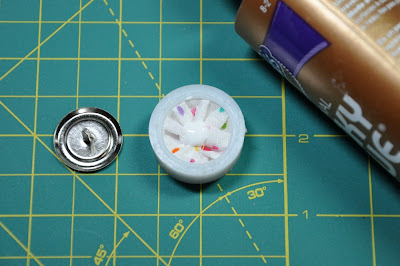
13. Now place the brad backing over the back of the button.
14. Gently press down and you will feel when it's been securely placed.
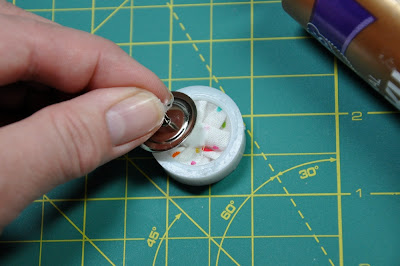
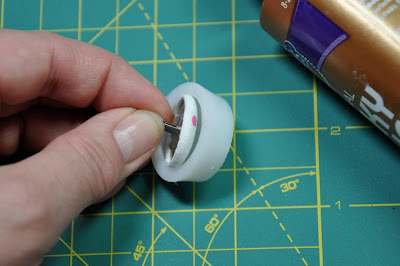
15. Holding on to the brad shank remove the covered button from the plastic cup.
16. Your covered button is now ready to use.
Here's a picture of the back of the button I just made along with the back side of a traditional covered button.
Here's a look at the front of the two buttons.
Step Two:
Putting Together the Buttons & Flowers
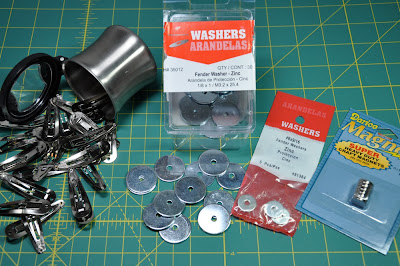
Here are the items I used to attach the crocheted flowers to a clip to make a magnet brooch.
Left to right:
1. Binding clips or hair clips.
2. 1/ 8" x 1" Fender washers from the Hardware Store.
3. 9/16" (Smaller) Fender washers from the Hardware Store.
4. Strong magnets from the craft store.
Option 1:
Crocheted Flower with Hair Clip
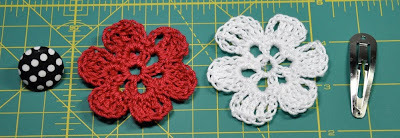
Here is the placement order of the crocheted flower with a hair clip.
Left to right:1. Covered button with brad.
2. Previously Crocheted Flower #1 (any color)
3. Previously Crocheted Flower #2 (white or any color)
4. Hair Clip
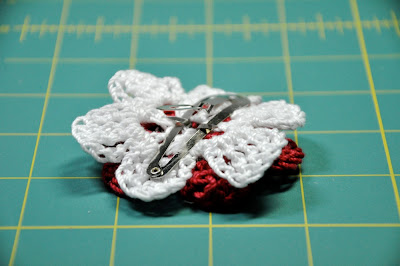
Here's a closeup view of how to attach the brad to the hairclip.
1. With pressure on the button from underneath push the brad up through the opened hair clip.
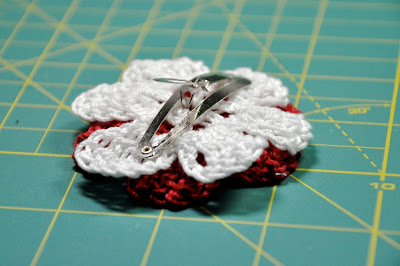
2. Open the brad and spread metal prongs across the hairclip.
3. Once the brad is secure you can slide the clip and adjust it so the back of the clip will close.
4. You can certainly cover the brad with a piece of ribbon and some hot glue but I like the flexibility of taking it off and changing the buttons or the flowers.
Option 2:
Crocheted Flower Brooch with Magnet
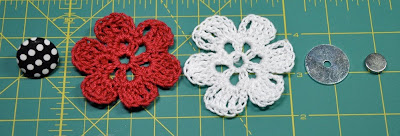
Here is the placement order of the crocheted flower with a magnet.
Left to right:1. Covered button with brad.
2. Previously Crocheted Flower #1 (any color)
3. Previously Crocheted Flower #2 (white or any color)
4. 1/8" x 1" Fender Washer
5. Strong Magnet
Here's a closeup view of how to attach the brad to the fender washer.
1. With pressure on the button from underneath push up the brad up through the center hole of the fender washer.
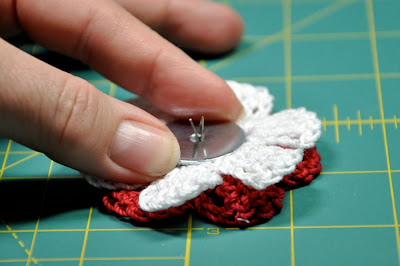
2. Open the brad and spread metal prongs across the fender washer.
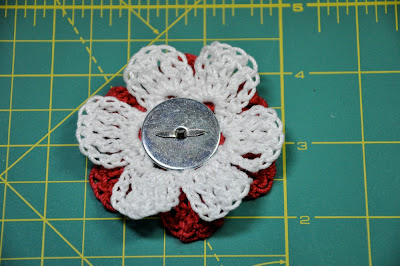
3. Once the brad is secure you can pop on the magnet.
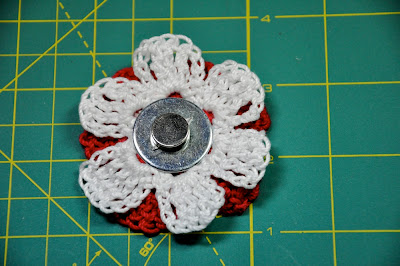
The magnet version is great for wearing on the lapel of a jacket or on a blouse. To wear it all you have to do is place any fabric in between the magnet and the back of the flower. So that means you put the flower on the outside of you blouse and the magnet on the inside of your blouse.
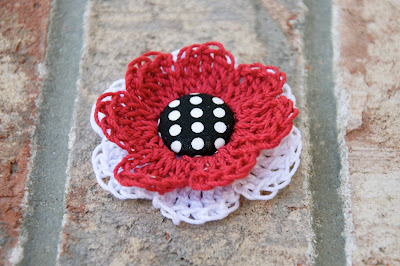 I hope you enjoyed this little tutorial on making crocheted flowers.

 The event started at Noon.
 My sister is very smart.
 The girls are nervous, yet excited.
 The girls showing me their books.
 While we were getting near the front Kenna and her cousins were interviewed by a news reporter from the KBYU Local News. They were there to report on the event.
 My niece is being interviewed too.
 My other niece was interviewed too.
 We made it to the front of the line where we got to see David Archuleta close up and get his signature. Kenna had fun meeting him and hearing him sing before the book signing started. We all had a really fun day together.


